
Patching. Again…
So far this year, I have already patched 4 pairs of jeans.
I sometimes feel as if my life is turning into an episode of The Good Life (how cool would that be?!)
Being avid and dedicated readers, you will all remember my first foray into patching with BigSmall’s jeans. I was feeling very smug about this mend, until I had to re-do it as my first attempt was basically a bit rubbish! THEN, another hole appeared right beneath my patch-the cheek of it! So I had to unpick my by now very firmly sewed on patch, and sew on the mother of all patches…
All was well for a little while, and then the ‘cool’ distressed bit on my jeans started to get more distressed, and then became an actual hole and then I put my foot through it-DOH!
So I had to patch them.
And then I had a second pair do the very same thing.
And then hubby obviously decided he was feeling left out, so he joined in with his jeans!
I put out a plea to the Love What you Wearers for a tutorial on patching, and the lovely Ginny promptly whipped me one up and posted it on her gorgeous blog Sweet Myrtle.
I followed Ginny’s tutorial, and thought I would share with you what I did and the lessons I have learned!! But if you want to really know how to patch something, check out the original post from Ginny-she is waaaaay better than me!
This is the starting point:

I underestimated the size of this hole a little!
I trimmed off the straggly bits, and then cut a patching piece from another old pair of jeans kept specifically for this purpose!
 With the jeans turned inside out I pinned the ‘new’ piece in place. The key to this, as Ginny says in her fab tutorial is to keep the new piece as flat as possible to avoid it rucking up.

Then, (carefully avoiding the pins…) I turned them right way round again, took the platformy bit off my sewing machine and threaded the leg of the jeans onto the arm bit (apologies if I am blinding you with technical terms…)
 I had to change the sewing foot (is that even the right word?) too *gasp* for the embroidery one. I am sure you are all WAY more knowledgable than me about sewing, but just in case you aren’t, it is the one that looks like this:

Then I just sewed my merry way backwards and forwards in lines across the patch. With the embroidery foot you can keep the jeans in the same orientation and move the fabric forwards/backwards/sideways/any which way you choose, which makes things much easier. NOTE-make sure that the fabric of your jeans doesn’t get pulled over at the edges as the sewing foot goes over it. I think, actually, with the embroidery foot, you can do it without lowering the foot, which would avoid this issue. Can someone confirm this?!
Now, Ginny’s patching was FAR FAR better than mine, and pretty much invisible. If you can match up your fabric and thread just right, then you should be able to get a pretty much invisible patch.
Mine is not invisible.
Or even close…

Does it add ‘character’? I could always claim to making a statement…
And this is the view from the inside, after trimming away the excess fabric:

In hindsight, had I appreciated the size of the defect I was working with, what I should have done is used a contrasting/pretty fabric underneath, and really made a statement of it.
Hindsight is a wonderful thing…
The lovely hubby’s jeans had a smaller rip to start with:

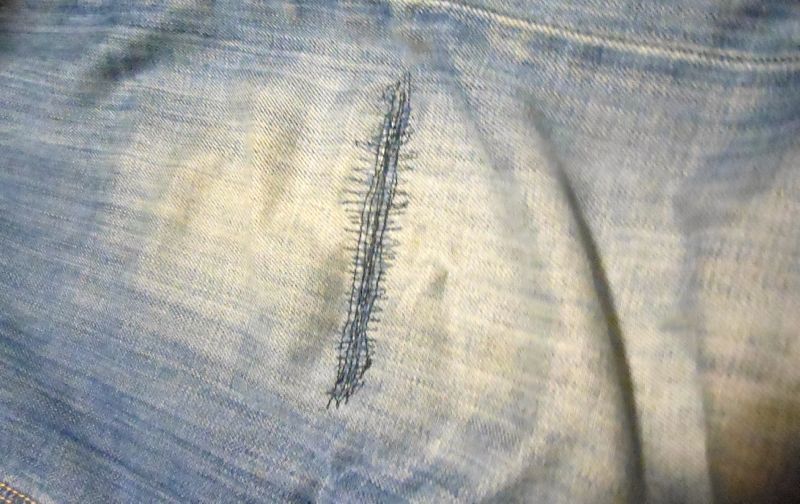
And ended up looking like this:

Again, nowhere near invisible, but at least functional. I hope..!
